
This recipe involves a lot more steps than my recipe for cookie press cookies, but the extra effort does show. Look how pretty they are!
 |
| Peppermint Layer Cookies |
Peppermint Layer Cookies
Makes ~70 cookies
1 cup Unsalted Butter, at room temperature
1 1/3 cup Sugar
3 cups Flour (have more on hand for rolling the dough)
1/2 tsp Baking Powder
1/2 tsp Salt
1 Whole Egg + 2 Egg Yolks
2 tsp Vanilla Extract
1/2 tsp Peppermint Extract
20-25 drops Red food coloring
15-20 drops Green food coloring
10 oz. White Chocolate, melted
4 Candy Canes, very finely crushed
Sift Flour, Baking Powder, and Salt in a small bowl.
Beat butter and sugar on low with a hand mixer (or with a paddle attachment in a standing mixer) until fluffy and well incorporated. (About 4 minutes)
While the mixer is still on, add the whole egg and yolks, one at a time. Mix well after each egg/yolk. Add Vanilla. Slowly add dry flour mixture and beat on low until combined.
Divide dough into thirds. Shape 1/3 into a round disk and set aside.
Return another 1/3 to the mixer, add 1/4 tsp Peppermint Extract and Red food coloring. Shape into a round disk and set aside.
Using a small, clean bowl, add the remaining 1/4 tsp Peppermint Extract and Green food coloring to the last 1/3. Shape into a round disk and set aside.
Draw a 6" x 8" rectangle on waxed paper.
Turn sheet over and lightly flour it. One disk at a time (beginning with the uncolored disk), shape dough to fit the rectangle using a lightly floured rolling pin. Even off sides using your fingers and a ruler.
Layer each dough rectangle between sheets of waxed paper and chill 30 minutes (and up to overnight).
Let dough sit at room temperature for 5 minutes before continuing.
Peel waxed paper from rectangles, leaving one sheet on the counter. Set Green dough on waxed paper. Line up the Red dough evenly on top and press down evenly yet firmly. Top Red dough with plain dough and press down evenly.
It should look like:
PLAIN
RED GREEN
Gently roll dough stack with a rolling pin. Trim uneven sides with a sharp knife.
Cut dough stack lengthwise into 3 2"-wide colums
Cut each column crosswise into 1/3"-thick pieces.
Lay pieces 2" apart on parchment-lined baking sheets.
Freeze 30-45 minutes. Preheat oven to 350 degrees.
Bake cookies 7 minutes, then switch positions of baking sheets to ensure even baking. Bake another 7 minutes, or until bottoms are slightly golden brown.
Cool cookies on wire racks.
 |
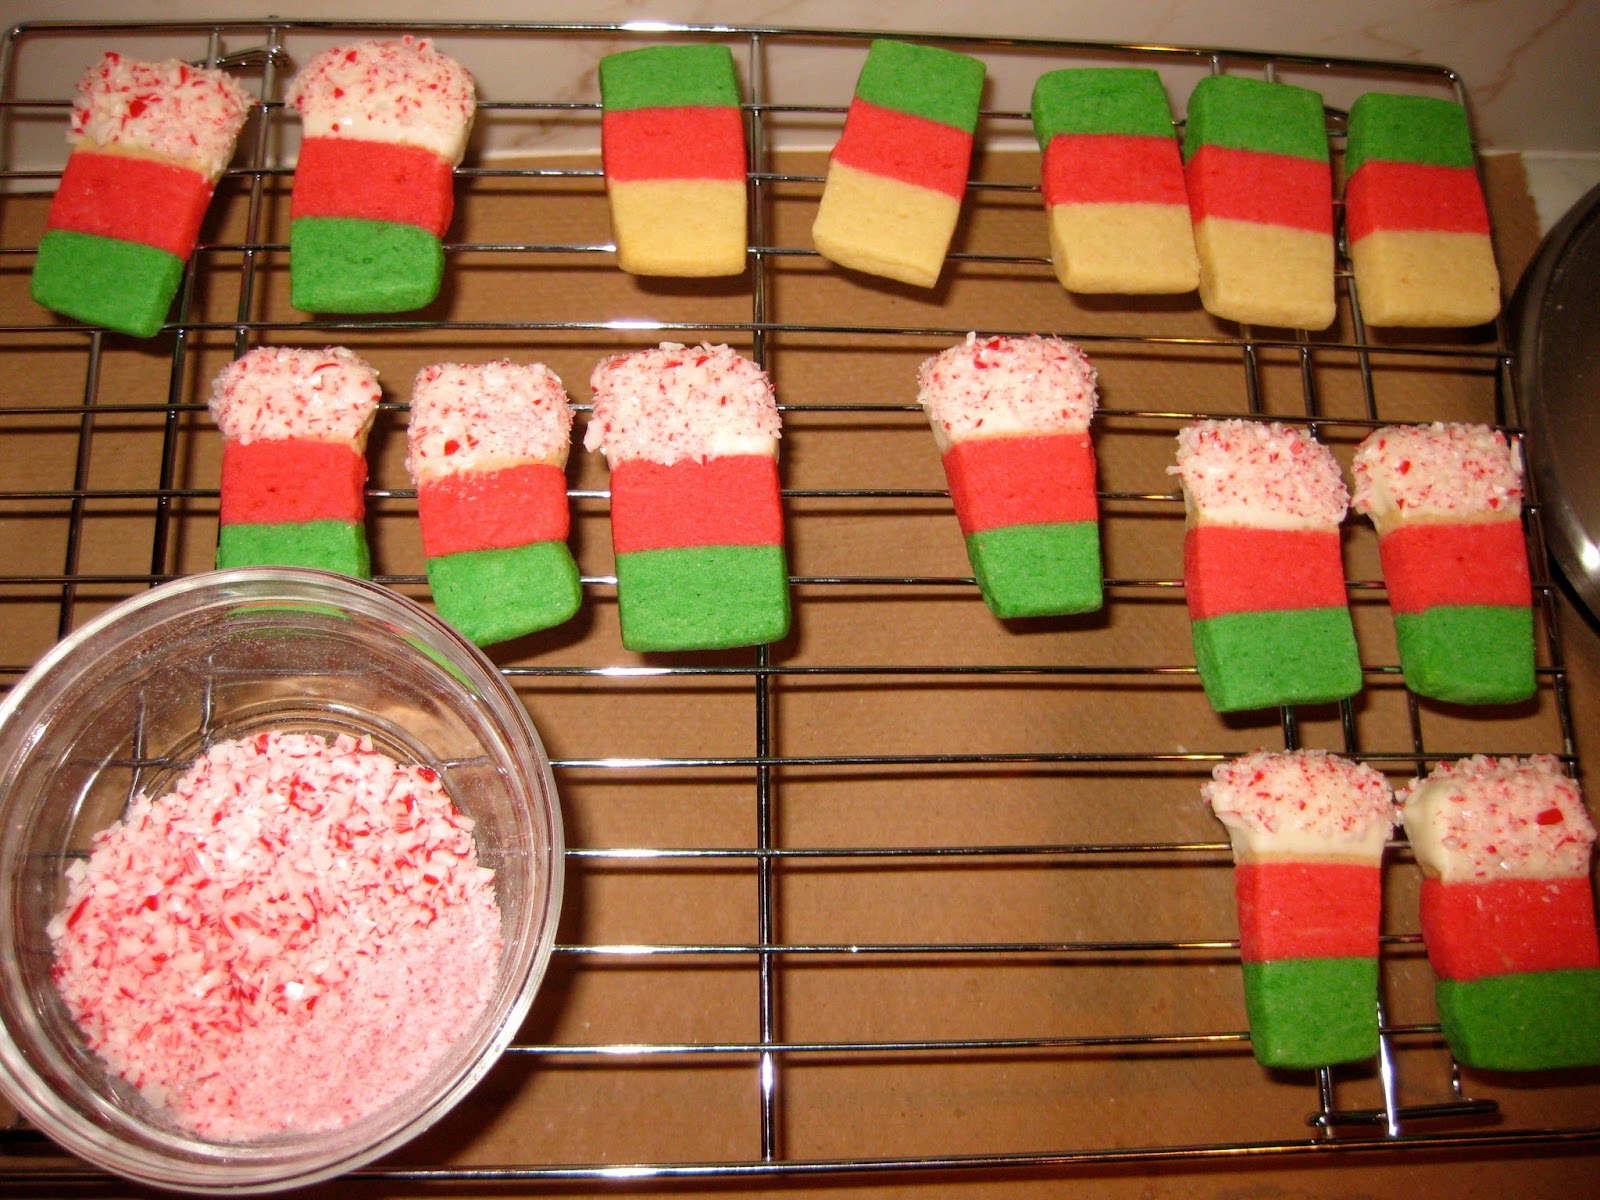
| All baked and now cooling off! If you compare these to the picture on the myrecipes.com link, you'll notice my stripes are going the wrong way. My strength was never in geometry and I divided the cookies the wrong direction! Nonetheless, I figure it's no harm done since it'll still taste yummy. |
Dip each cookie about 1/2" into white chocolate, then sprinkle with crushed candy canes.

Set aside on waxed paper until it hardens.
There you have it! If you give it a try, let me know how it goes for you :)
Happy Holidays!
Piggy KL
I can't wait to taste your beautiful once-in-a-year treat!
ReplyDeleteWe have a huge staff of experienced professional writers vetted through a strict hiring process. They have strong analytical, research, and critical thinking skills and are capable of working under pressure and delivering great results.
ReplyDeleteNice share
ReplyDelete